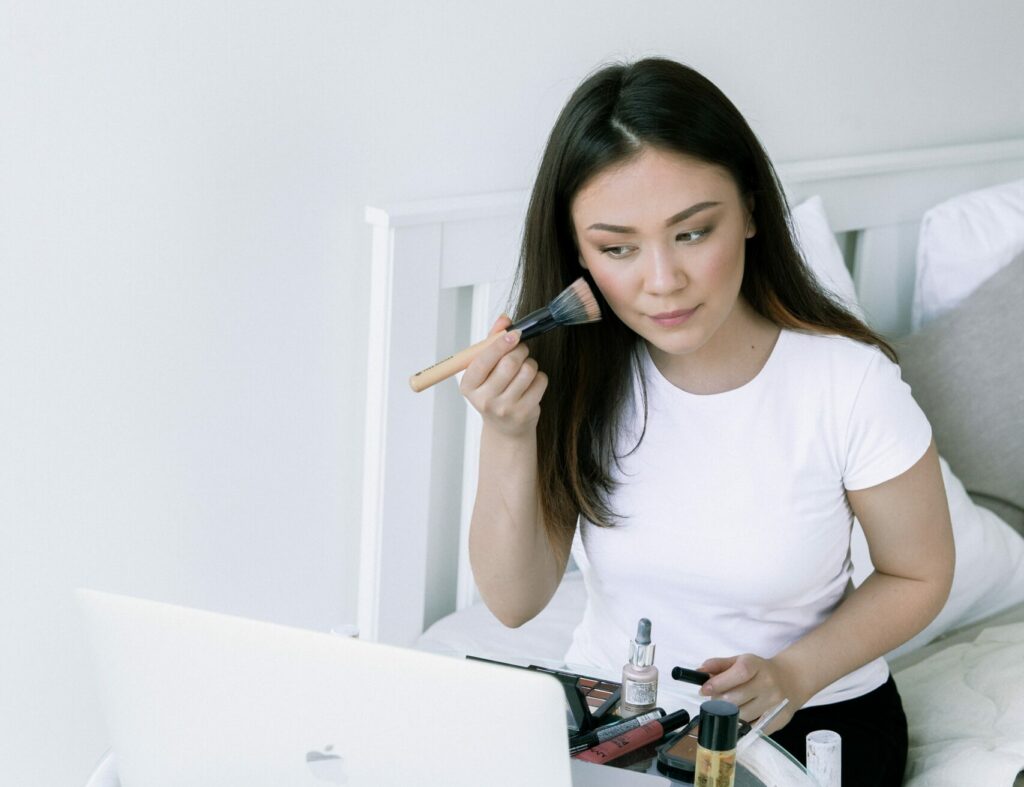
Adding contour to your makeup routine is a great way to define your facial features and really shape your entire makeup look. You can sculpt your cheekbones to be high fashion or give a subtle carve with a few simple steps.
Having a round face shape makes it harder for someone to find their angles and the best points of definition. However, you don’t need to sit out on trends because you don’t know how, practice always makes perfect. Keep reading to learn all the tips and tricks for how to contour a round face.
How to Contour a Round Face
Step One: Cream Contour + the Right Makeup Brush
To make blending and application more seamless, it is best to reach for a cream contour. Cream products are much easier to work with and they blend flawlessly. I have found that using powder can just leave my skin blotchy and dry.
On top of that, picking the right makeup brush can make your contour application easier.
A recent favorite of mine has been the Charlotte Tilbury Hollywood Contour Wand. Paired with the Hollywood Contour Brush, the duo applies perfectly.
Another good brush for buffing the contour is the Morphe M6 Pro Flat Buffer Brush. These brushes will not smear your makeup and will leave you with a very natural finish.
More Cream Contour Favorites
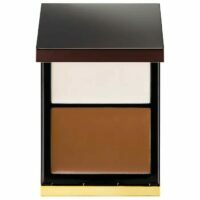
$88
Shop Now
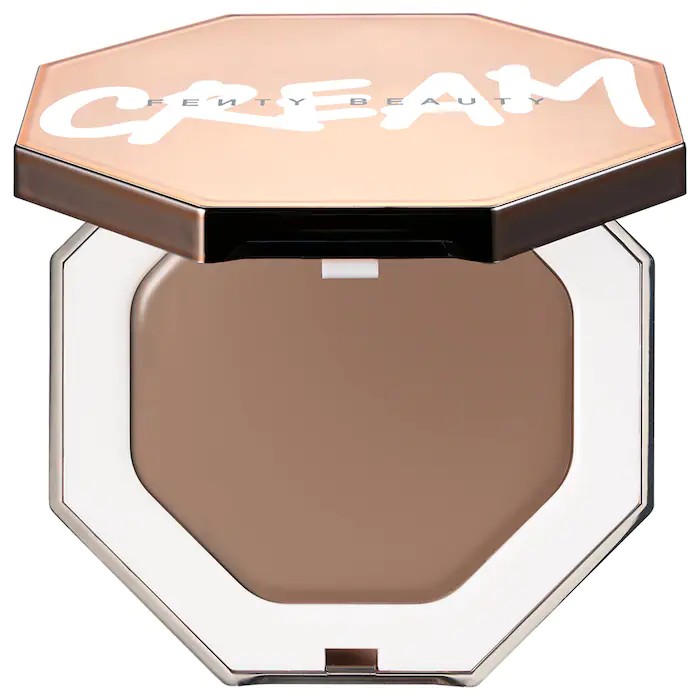
$32
Shop Now
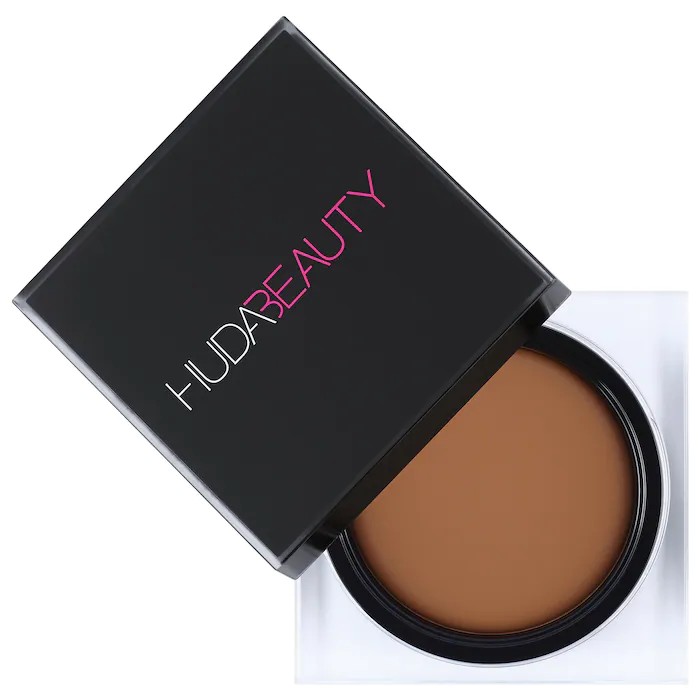
$30
Shop Now
RELATED: 9 Best Drugstore Contour Products for Every Skin Type
Step 2: Where to Apply Contour
When shaping a round face, it is best to cover all bases.
Start by dotting on the product with a brush at the point of your face where you can feel your actual cheekbone. The cheekbones will direct towards the ears, and this is exactly where you will want to place the contour for a lifted look.
Always blend and buff the product upwards so that you are not dragging the shape of your face or the product downwards.
After applying to the cheekbones, apply a few dots of product on the forehead close to the hairline to shape the face even further.
Be careful not to have a heavy hand with the product so that your makeup does not come out looking muddy.
Step 3: Jawline Application
I usually go for this step when I want to have a snatched look. Sculpting the jawline will make your face appear slimmer.
Apply the contour just below the jawline and be careful not to use too much product. Start close to the ear and bring the contour down to just before the middle of your chin.
RELATED: 10 Best High End Contours to Snatch Your Cheekbones
Step 4: Nose
You are going to want to apply contour just below the button of your nose and on both sides of the nose.
Once you have the shape carved out, apply concealer to the bridge to highlight and emphasize the snatch.
Be very careful and use a minimal amount of product. You will want to switch up the brush for this step to fit a smaller face. A simple concealer brush will do the trick.
Step 5: Blend, Blend, Blend
Using a different Morphe brush, it’s time to blend the big areas where you have applied the contour.
Buff in small, light strokes upwards and in circles where the contour is set. Use a different brush (concealer) to fit the small areas like the nose.
The contour will blend beautifully into the skin and foundation if you are sure to use the correct products and brushes. Take your time to avoid any smudging!
I usually will take a beauty blender to go over the areas and make sure there are no harsh lines, but this is optional!
If you want to intensify the finish, use a powder bronzer to go over the areas of contour.
Our Favorites:
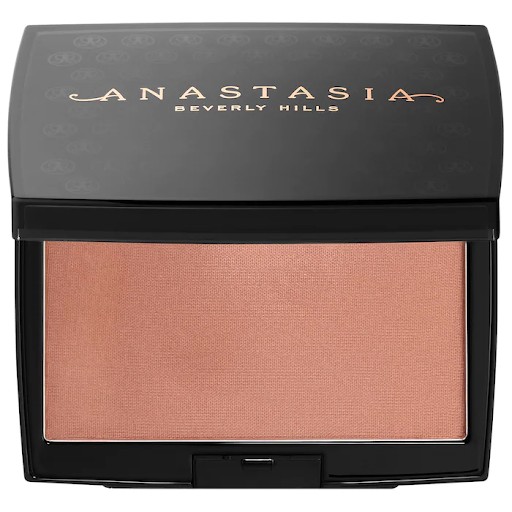
$28
Shop Now
$38
Shop Now
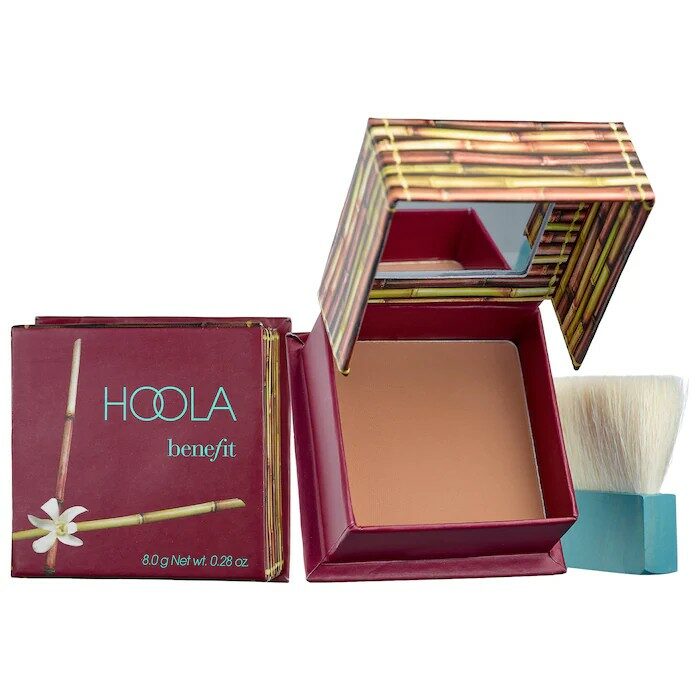
Benefit Hoola Matte Bronzer
$30
Shop Now
Bottom Line
Overall, there are many ways to accommodate different face shapes with makeup, don’t be afraid to try new things. Contouring a round face is simple once you get the hang of it!
We hope this guide helped you learn how to perfectly contour a round face. Top off your look with highlighter above the cheek contour and right on the center of the nose to look glowy as ever.
