
We all love getting our nails done – whether we’re doing them at home, having a friend do them, or getting them done professionally. There’s just something about having gorgeous nails that boosts your confidence. With so many different kinds of nails out there, it can be difficult choosing the best one. For some that’s acrylics, others it’s gel – for many people, polygel nails outweigh them all.
What is Polygel?
If you’re just now hearing about polygel nails, they’re somewhat of a combination of gel and acrylic (without the damaging or harsh ingredients). These nails give the look and durability of acrylics, but without damaging your nails.
They’re also much easier to form than acrylics because the formula doesn’t dry until you cure it (meaning you don’t have to be a professional to do them yourself).
Polygel nails can act as a nail enhancement similar to acrylics, or just as a simple overlay to your natural nails to help them look stronger and shinier.
How long do polygel nails last? This all depends on how well you apply them, but they can last up to 3 weeks when applied correctly. It’s most important to start with a dry base (also, don’t make them extensively longer than your natural nails or they will be more likely to break off).
Now that we’ve introduced a bit about these trending nails, let’s go over a few pros and cons of polgel compared to acrylic.
Polygel vs Acrylic
Acrylic
| Pros | Cons |
| – Can last up to 4 weeks – Very sturdy and damage resistant – Smooth and flattering | – Cause damage to natural nail bed – When removing, your nails must be soaked with harsh chemicals – Harder to do at-home – Expensive to get done at the salon |
Polygel
| Pros | Cons |
| – Lasts 3 weeks on average – No harsh chemicals or odors – Firm, sturdy, and flexible – Can easily be removed without harsh chemicals – They don’t dry until curing, so they are easier to form at-home | – If getting done in a salon, they cost more than acrylics – Can take a few tries to get the hang of forming them – Tend to break easier (it’s best to form a shorter, more natural nail) |
As you can see, polygel nails definitely win by a landslide compared to acrylics, with the only real downside being the price (which only applies if you do it in the salon) and the small learning curve when you first start forming them yourself.
At-home kits are pretty inexpensive and fairly easy to get the hang of!
How to Apply Polygel Nails
Now that we’ve seen the pros & cons, how do you apply polygel nails? There’s actually a few different ways to do this, but there are two main ways – using forms or just directly applying to the nail.
For beginners, forms are the easiest (these come with most polygel kits).
Polygel Tools
- Polygel formula
- Nail forms
- Clamps (if using forms)
- Brush
- Slip formula for easier spreadability
How to Apply Polygel Using Forms
- Prep your nails with a file down and shaping. If your kit comes with a base coat, use this as well.
- Select your dual form & make sure it’s slightly larger than your actual nails to allow for full coverage & to fill in empty spaces.
- Next, place a small amount of polygel on the dual form.
- Use the brush to apply the gel to the dual form.
- Dip your brush in a slip solution to keep the gel from sticking.
- Cover all areas of dual form & gel, including small spaces. Make it so that the cuticle is the thinnest, leading to thicker application.
- Apply a base coat & cure under a LED or UV nail light for 60 seconds.
- Then take the dual form again & apply it to the base coat at a 45-degree angle at the cuticle. Make sure your touch is gentle. When you’re done with this, cure again for 60 seconds. Don’t forget to cure the backside of your nail.
- Gently squeeze the dual form to remove it. You can now begin shaping your nail.
- When done, wipe up any nail residue or dust, cure again & you are all done! If you’d like, you can finish it off with your choice of nail polish.
How to Apply Polygel Straight to Your Nails
- File, shape, and prep the nails. Apply your tip.
- Apply 1 coat of pH bond to the natural nail, then one coat of Probond primer to the nail.
- Squeeze the clear polygel and slice a small amount out of the bottle onto the flat edge.
- Use your poly tool to spread on your nail. Then, use the other side of the tool, dip the brush in a slip solution & shape the nail.
- File the nail afterward to shape & remove excess. For this step, if you’re wondering how thick should polygel nails be, this is all up to you. If you want them to look natural, you’re going to want to file them down until they have a smooth natural texture that doesn’t look added on. So, when in doubt, it’s best to keep them thin.
- Apply a top coat and cure for 5 seconds.
- Wipe down the nail with a clean brush to gently remove any residue.
Now that we’ve gone over what polygel nails are and how to do them, let’s dive into a few polygel kits that are the perfect addition to your collection to help you get the job done!
Best Polygel Nail Kits
Gershion Red Poly Nail Extension Kit
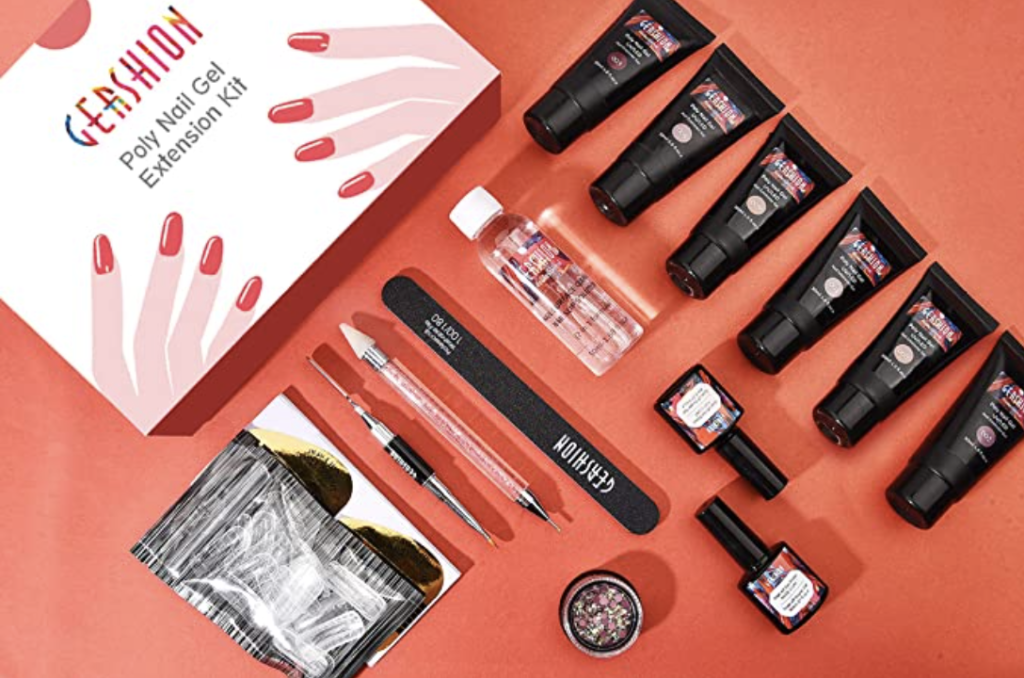
To start off is this incredible starter nail kit by Gershion. Voted the best polygel brand, this kit features everything you could ever want if you’re a beginner. It includes polygel extension gel, slip solution, base coat, top coat, a dotting pen, brush, spatula, and even more.
It also comes with instructions that not only help you apply, but also show you how to remove polygel nails.
Beetles Polygel Extension Kit
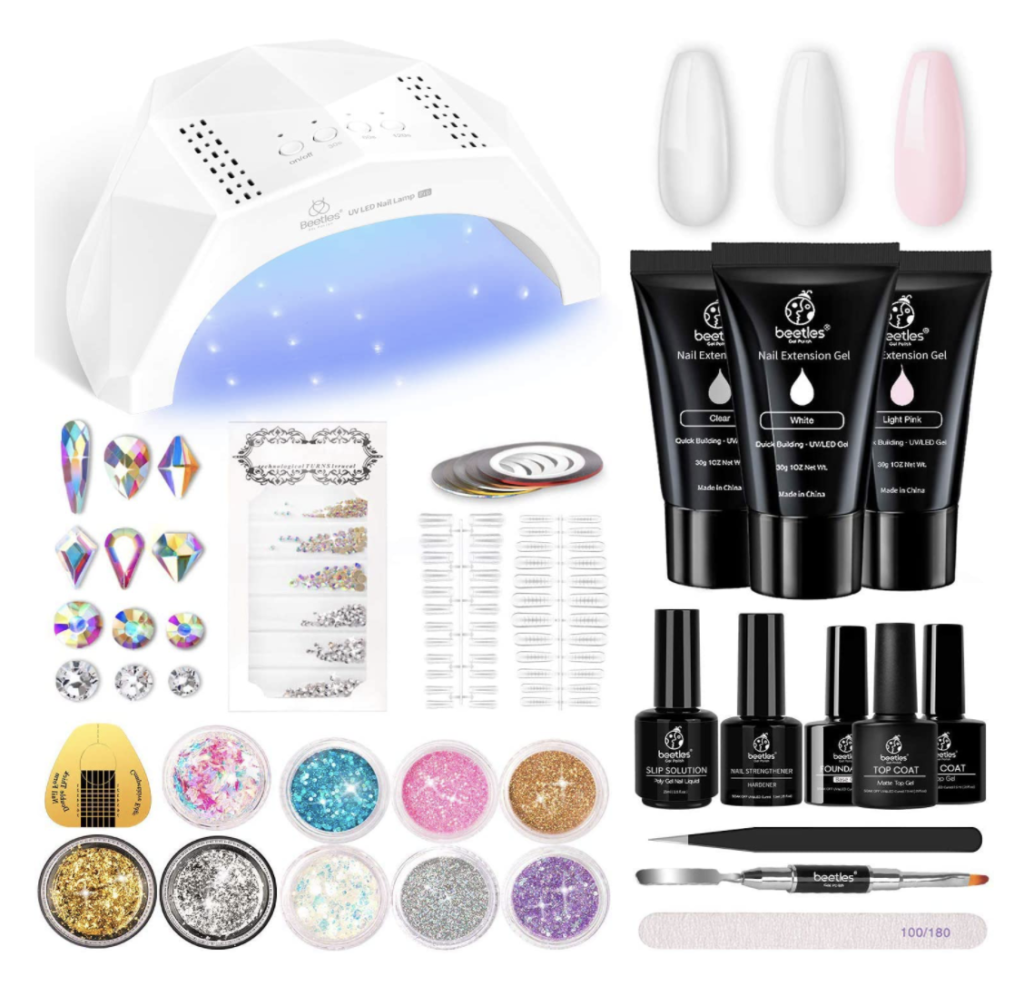
This kit has some of the best polygel nail kit reviews – it includes the polgel product, base coat, top coat, a nail strengthener, an LED nail lamp, stripping tape, nail forms, tweezers, and even more.
Not to mention, this kit also comes with a plethora of glitter, foil, & glitter flakes to add the perfect expression of your personality onto your nails. This kit will help you achieve salon-level nails that are natural, lightweight, & Instagram worthy!
Makartt Poly Nail Extension Gel Kit
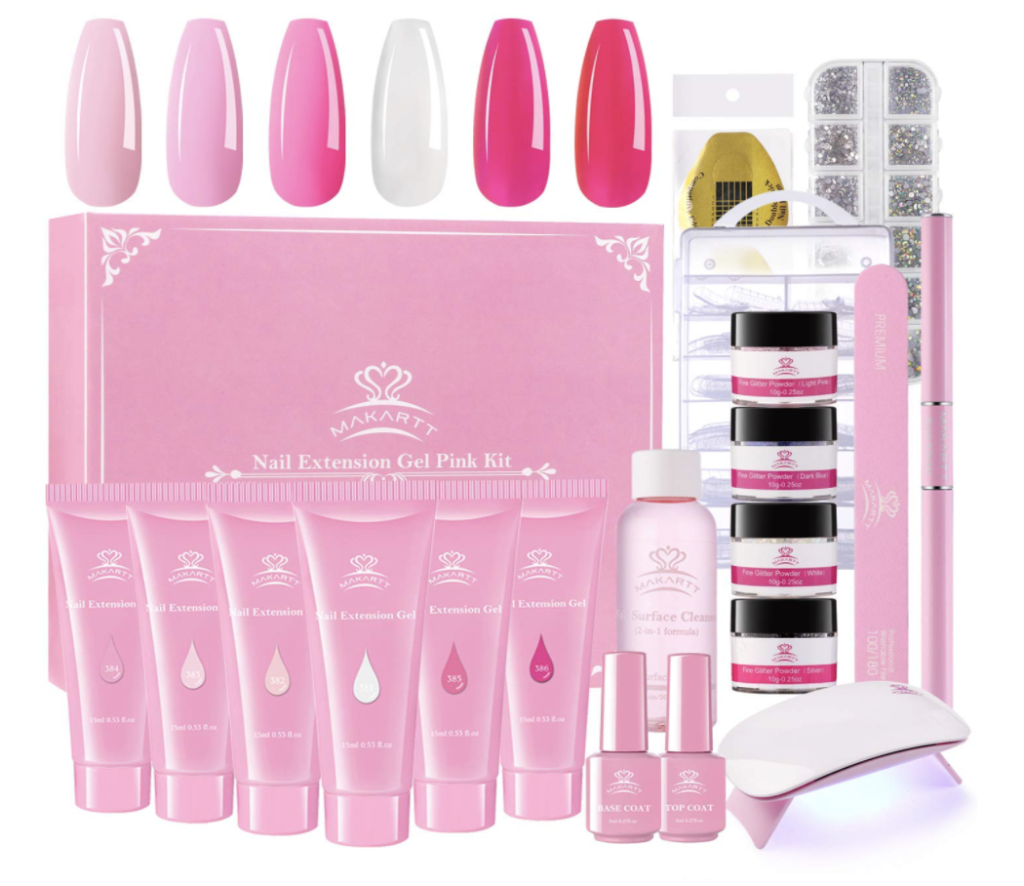
Next is the Makartt Poly Nail Extension Kit. Being on the higher spectrum when it comes to price, this kit is loaded, long-lasting, & also cruelty-free.
What you can expect to find in this kit is extension gel alongside a base & top coat, nail glitters, slip solution, an LED UV lamp, nail form, dual form, rhinestones, & more. For the price, this is one of the best nail kits on the market for beginners that will teach you how to use polygel.
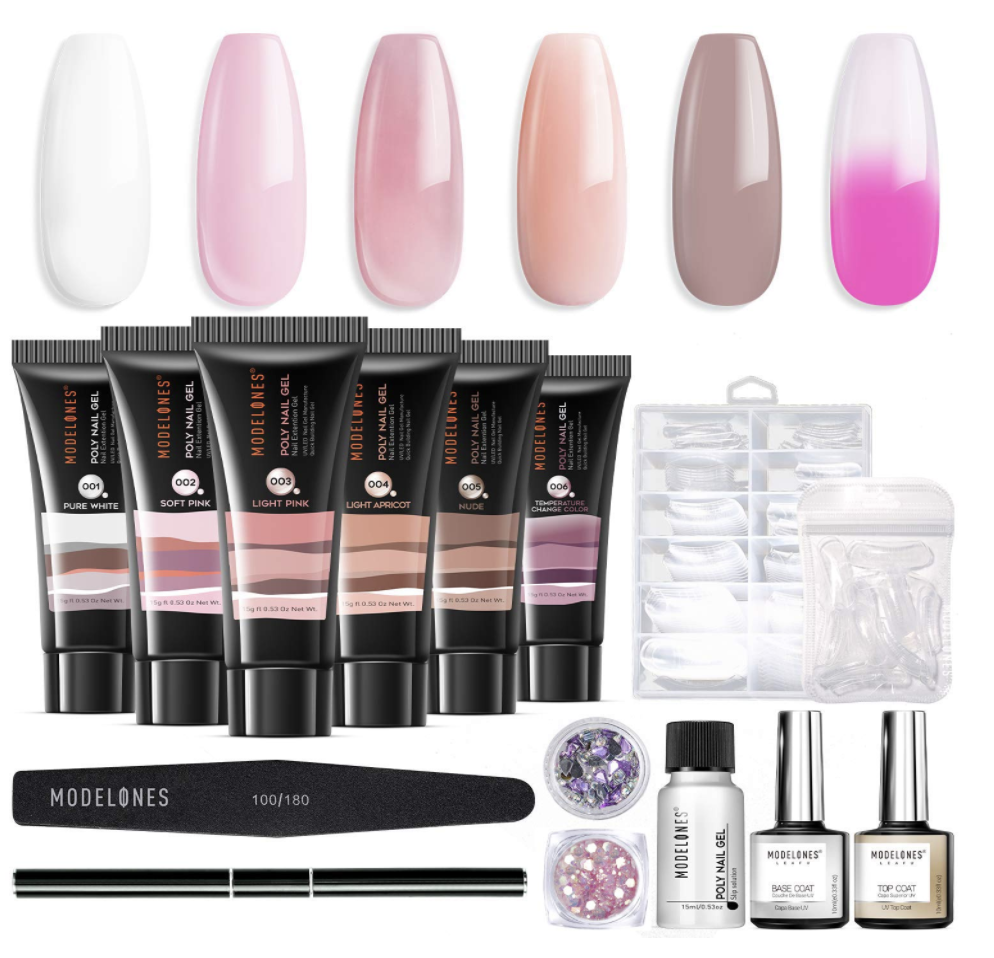
This all-in-one kit features all that you could ever want for a nail set! Including 6 different poly gel colors with the options of alternative colors, a dual-ended nail brush & spatula, 1 glitter & diamond dust, 1 base & top coat, & even duel forms pieces on top of it!
Note: This kit does not come with a nail light but does require one, so you will need to purchase separately. Overall, this is a great starter kit for the price if you’re looking for a less advanced nail kit to help you get the job done.
Bottom Line
When it comes to getting your nails done, polygel nails definitely have our vote and seems to be one of the best options. So whether you choose to get them done professionally or give it a shot yourself, these nail kits will be the perfect addition for touchups to keep your nails lasting longer and your confidence higher.