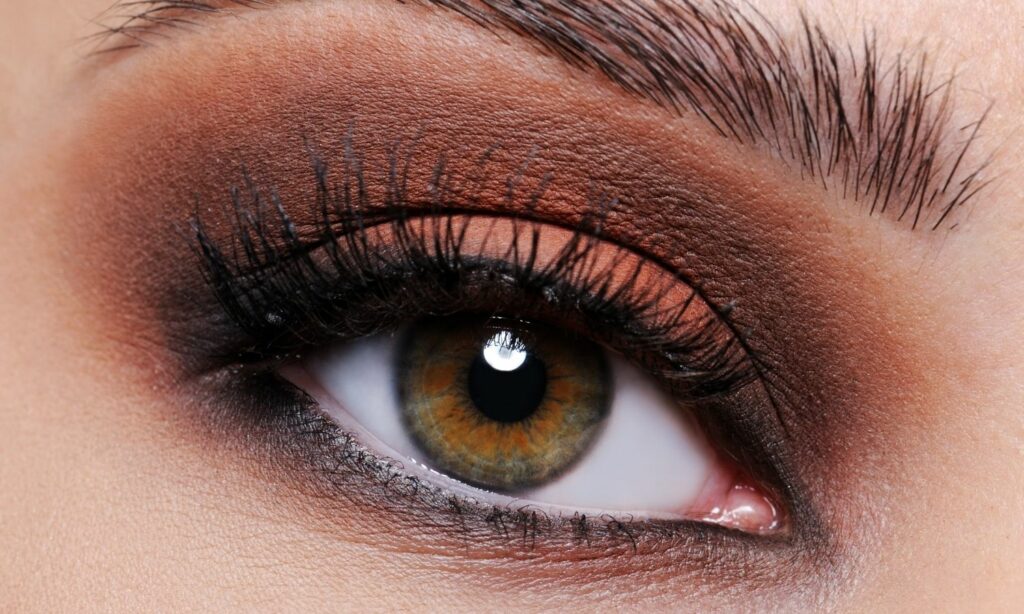
Eyeshadow is one of the most popular makeup products. With endless palettes and colors to choose from, you can create a thousand and one looks that are perfect for any occasion. The metallics, glitters and mattes can easily intimidate those who have a hard time stepping out of their comfort zone. In this article, we will be teaching you how to blend eyeshadow perfectly.
If you don’t have the right tools or know how to blend eyeshadow, you’ll end up with a hot mess art project on your lids (*DIES*). Practice makes perfect and there are thousands of Youtube videos that can get you through different styles and looks step-by-step.
Here are our steps to blend your eyeshadow in the most flawless way, including valuable feedback from makeup artist Mandie Brice.
How to Blend Eyeshadow
Step 1: Prime Your Lids
Many people forget to do the most crucial step. Imagine doing your nails and not finishing with a top coat – your nails will be cracked by the next day.
Without applying some sort of primer or concealer on the lids, the shadow is going to fall off and dust onto the rest of your makeup. Primer also helps your eyeshadow last longer, reducing the likelihood of creasing throughout the day.
According to Mandie, “our eyelids are among the oiliest parts of our faces, and the excess oil can cause the consistency of the eyeshadow to change in ways that make blending much more challenging.”
The Urban Decay Eyeshadow Primer Potion is a staple among makeup lovers. If you can’t get your hands on this specific primer, you can pick a more affordable option or even try using your concealer for a base. The shadow will typically stick to your lids similar to a primer. Voila!
Step 2: Pick the Right Brushes & Products
Another area you need to focus on when applying shadow is your makeup brushes. If you want to do intricate looks or even just swipe on basic color, your fingers probably won’t cut it (unless it is a cream product, but we’ll get to that later).
A good tip is to have plenty of different blending brushes. You will most likely need more than one of each type so that you don’t make your shadow muddy if you are using more than one color.
If you’re new to eyeshadow, there are six popular types of eyeshadow brushes to know about:
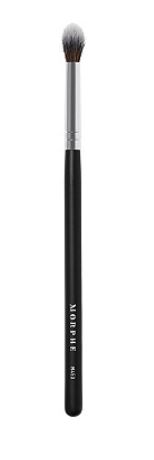
Crease brush – Used to blend eyeshadow into your eye crease, this is one of the most useful brushes to have in your collection. It’s shaped specifically to deposit eyeshadow into the crease, ensuring it doesn’t stray anywhere else.
Blending brush – This fluffy brush allows you to blend with ease. It can come in a round shape, but may be more tapered as well.
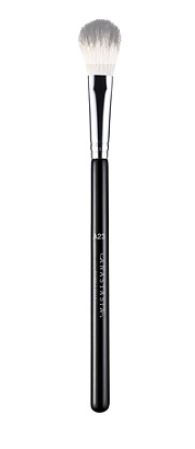
Angled eyeshadow brush – This brush allows you to add eyeshadow precisely. It’s perfect for adding a highlight to the brow bone or adding a pop of color to your lash line.
Flat eyeshadow brush – With a flat look, this brush features dense bristles that allow you to easily pick up product and apply it to the eyelid. It’s especially great for cream or liquid products because the dense bristles ensure the product doesn’t soak into the brush.
Smudge brush – As you may guess by the name, this brush helps you smudge eyeshadow or eyeliner. It features dense, short bristles in a rounded shape.
Pencil brush – Finally, the pencil brush is very small, aiming to give you pencil-like precision.
If you had to only pick a couple for blending eyeshadow, a blending brush and a crease brush are highly recommended. Here are a couple of our favorites:
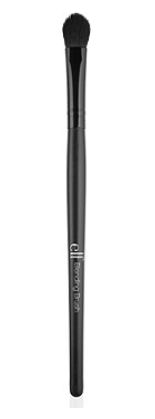
Synthetic brushes make it easy to apply eyeshadow products, while natural hair brushes will help you blend the colors in your look.
And finally, picking the right products can help as well. “Looking up reviews of different shadows and how well they blend can help you if you’re just starting out, so that you’re not making it harder for yourself from the beginning!” says Mandie.
She also recommends a Vera Mona Color Switch if purchasing extra brushes are out of your price range. However, she cautions that these shouldn’t be substituted for actually cleaning makeup brushes regularly.
RELATED: How to Clean Makeup Brushes at Home
Step 3: Apply Shadow Gradually
Starting off light is only going to make the job easier. Once you pick up the shadow on a brush, it is best to tap off the excess. Another way to avoid excess product is swiping it onto your hand.
Don’t go overboard when you start off, start with a neutral base color and gradually add darker colors as you continue to blend. A trick I love is using the same bronzer on my lid that I am using that day, it makes you look sun-kissed and will pull the entire look together.
When you are working on the outer edges of your crease, diffuse the edges with a blending brush. If you neglect this step, your makeup look will be a disaster. I have seen too many people make this mistake!
READ MORE: How to Apply Eyeshadow 101: Ultimate Guide
Step 4: Blend Your Shadows
Now, let’s get into the blending process.
It is important to use clean brushes to blend your shadows, switching them between each different color. Always start with the lightest color and work your way up, that way the colors will mesh beautifully and your makeup won’t come out looking muddy.
The second lightest shade should be applied on the middle of the lid and blended out in a windshield wiper motion. Save the darkest shade for your outer corner, this will create an ombre effect for the shadow.
When holding your brush, don’t use a heavy hand. Hold the brush lightly at the bottom end between your thumb and index finger like a pencil. Applying shadow like this will be less heavy and will turn out softer.
Using a clean blending brush at the very end of your application will help pull it all together and soften any harsh lines.
When you’re just starting out, you might want to opt for cream shadows as these are easier to blend. On top of that, cream-based eyeshadow is less likely to settle into fine lines (just make sure to use that primer)!
Note: Cream shadows have a shinier finish than powder.
Clean-Up Tips
You can use a Q-tip dipped in micellar water to clean up any mistakes that may have occurred. If you have already done your foundation and concealer, you can blend away mistakes with a dampened beauty blender and a little bit of concealer.
Follow a Tutorial
Now that you’ve learned how to blend eyeshadow, we’d recommend finding an eyeshadow tutorial you love and follow it. A tutorial will show you exactly what colors to apply and where to apply them, which are also very important to learn when you’re new to eyeshadow.
Blend on Paper
If you’re still struggling to blend your eyeshadow, try doing it on a piece of paper instead of on your eye.
Let’s face it, makeup is an art (especially eyeshadow). This can make it easier to get the technique down, then you can start bringing it to your eyes.
Final Thoughts
Overall, blending eyeshadow definitely requires some practice and plenty of patience, but anyone can learn with a bit of dedication. Before you know it, you’ll be slaying your eyeshadow looks and will be glad you took the time to learn how to blend eyeshadow!