The simple “no makeup” makeup look is one we see being worn for any occasion. The look is dewy, fresh, and can be worn from day to night.
We have seen many off-duty models with this look on their leisure days, and it is a heavily used look in high fashion. We have been playing with makeup for so long, we’ve found all of the right products and tips to achieve a glowy and luminous makeup look.
Keep reading to learn how to create a “no makeup” makeup look – and don’t get too excited by the name, doing a full no makeup look is actually pretty time-consuming (but well worth it).
“No Makeup” Makeup Look: How-To
Keep reading for our steps and tips to perfect this makeup look.
Step 1: Skincare
Creating a flawless makeup look all starts with the base of the routine, which is skincare. By washing your face, you are ridding your skin of any dirt and grime that has built up during the night or day.
When artists paint a picture, the canvas is blank and clean. I highly recommend the La Roche-Posay Hydrating Gentle Face Cleanser.
La Roche’s cleanser does a great job at gently removing all dirt particles from the skin; it suits sensitive skin as it is not full of any harmful ingredients or fragrances.
Also recommended:
Don’t forget to moisturize the skin and apply an SPF 30+ to ensure your skin is protected. All of these steps are crucial in having your makeup look dewy.
Having a solid skincare routine to prep the skin will only make it easier for you to work with any creams or foundations. For moisturizer, I would recommend the Neutrogena Hydro Boost Gel for dry skin (this version is fragrance-free).
For sunscreen, EltaMD UV Clear Face Sunscreen is a holy grail. The sunscreen does not leave a white cast on the skin and it also is super lightweight.
Step 2: Brows
I usually like to start with brows so I can frame the face and set the shape I want. Doing brows first also gives the skin time to soak up all of the products and sunscreen we applied.
For a “no makeup” makeup look, it is important to stay light-handed with the brows. To me, this is the most crucial step for achieving a “just woke up and rolled out of bed” vibe.
Brow pens like the Glossier Brow Flick or Lime Crime Smokey Brow Pen make it easy to draw hair-like strokes and create a natural and fluffy look.
Using the soap brow technique or using a gel to really brush the brows upwards will add to the pulled back and flawless look.
Step 3: Tinted Moisturizer/Foundation and Concealer
Starting with the face, I apply a pressed powder with a brush (I love this powder) to prep the skin for the foundation I will be using that day.
I got this trick from a makeup artist in a Vogue ‘Get Ready With Me’ video, and it has been a game changer in my makeup routine. My makeup sits better on my skin and does not get cakey; it will hold for hours.
A recent favorite foundation of mine has been the ColourPop Pretty Fresh Hyaluronic Acid Tinted Moisturizer. Try mixing the tinted moisturizer on the back of your hand with a slightly darker colored one to get the perfect color match.
I use the Charlotte Tilbury Hollywood Complexion Brush to work the product into my skin. Previously, I used a BeautyBlender, but I found that my makeup would rub off onto the sponge very easily.
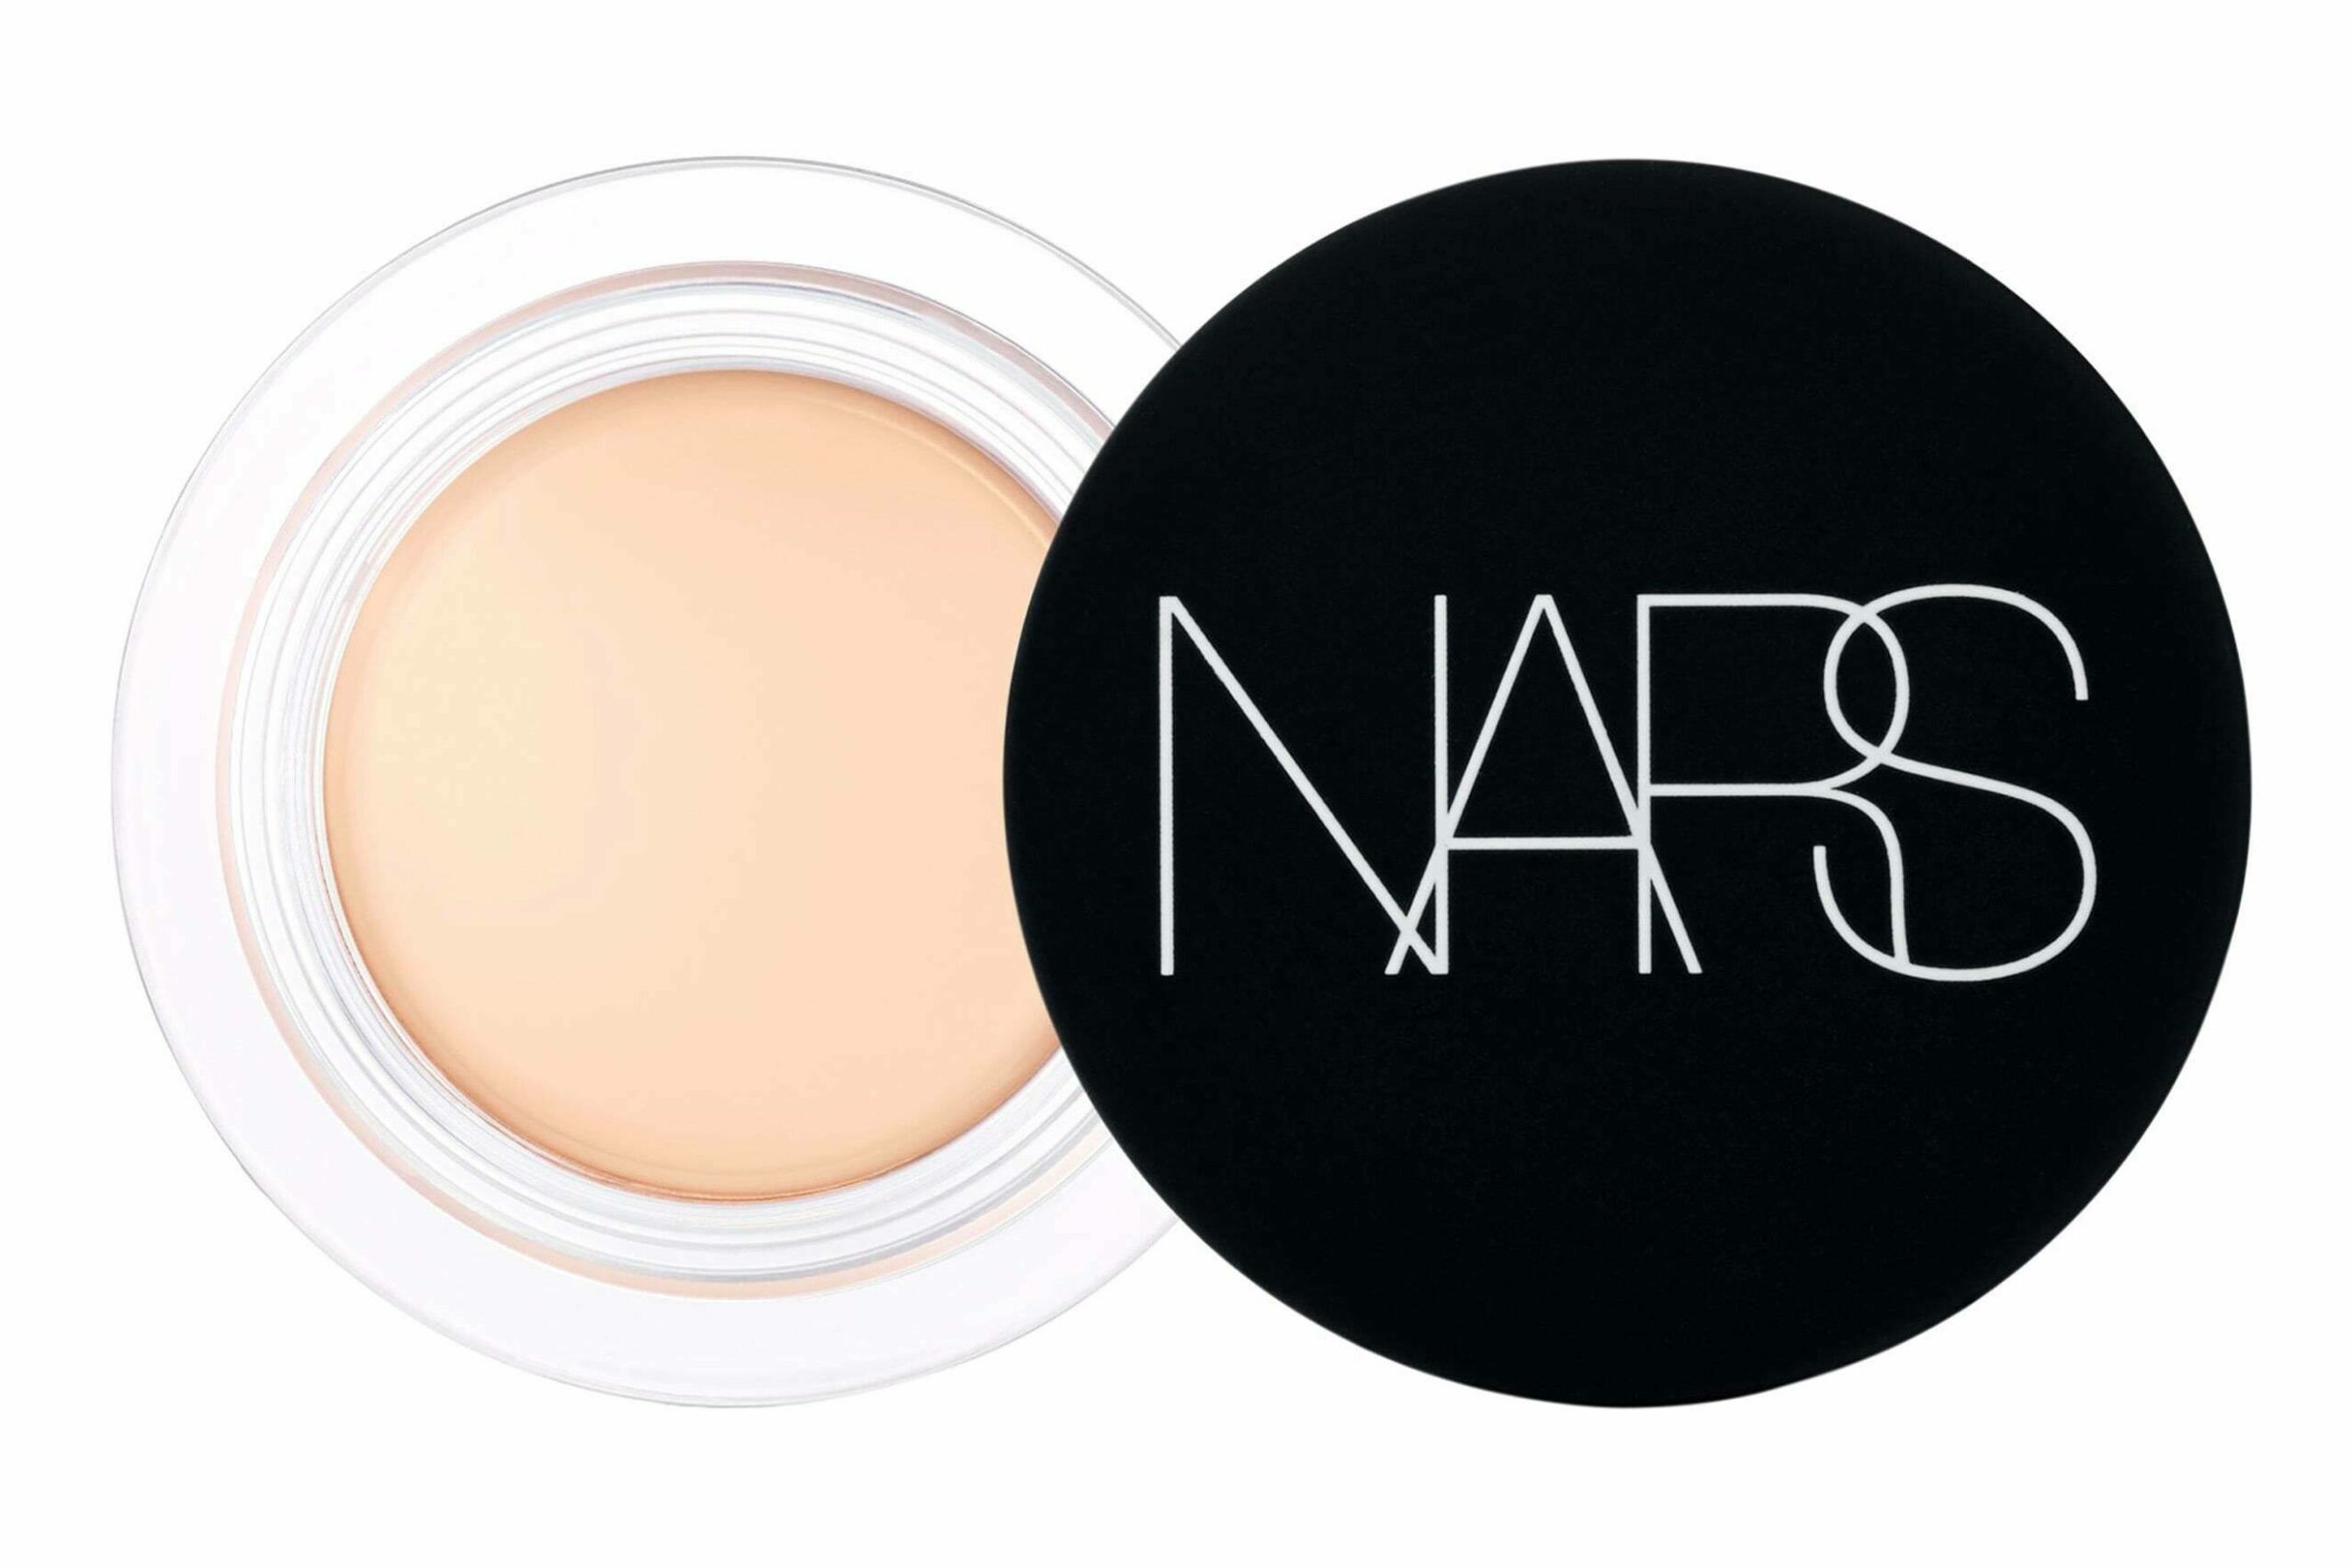
For concealer, I recommend a cream. Cream products help pull the makeup look together to blend effortlessly. The Nars Soft Matte Concealer is a cult favorite.
Applying the product with a dense concealer brush has been the easiest way to avoid any mishaps in the undereye area.
I also apply a slightly light shade of concealer in my t-zone area, nose and chin to highlight that area of my face.
Also recommended:
Step 4: Contour and Bronzer
Charlotte Tilbury has an amazing cream contour that is perfect for all skin tones. You can sculpt your cheekbones easily with this product to keep the cream product trend ongoing within this routine.
Another trick is finding the perfect area for applying the contour. Find the placement of your cheekbone and place your finger on top to feel the bone, then apply the contour in this spot and blend upwards. Always remember that a little goes a long way when it comes to contouring.
I also place the contour on the high points of my forehead so I can blend the look together and create a bronzer and more tanned look.
Nars Laguna Bronzer is usually what I use to set on top of the cream contour. Applying a light amount and sweeping upwards will give you perfectly carved, high cheekbones. For a crisper look, I apply more concealer underneath the cheekbone to accentuate the cut of the cheeks.
Also Recommended:
Step 5: Eyes
Set the under eyes with powder to avoid any smudging or transfer. Avoid using a baking technique when trying to create a “no makeup” makeup look, as it creates an overly-mattified appearance.
To look natural and effortless, it is a great trick to apply the same bronzer color on your eyelids. This will pull the look together to be sun-kissed.
Apply mascara to the eyes, brushing the lashes out to the side to create a cat-eye shape. A recent mascara favorite has been the L’Oreal Voluminous in Deep Violet. As opposed to a black mascara, the color of this mascara enhances your own to look full and natural without any help. I prefer to use this on days when I do not want to look like I tried too hard.
The color is amazing on green or blue eyes!
If you want to go a step further, try applying a basic brown liner to the waterline.
Step 6: Blush and Highlighter
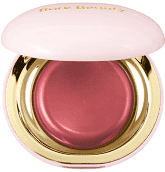
This step is optional, but blush really does add on a cute touch. Sticking to my cream product routine, I apply the Charlotte Tilbury Peachgasm Beauty Light Wand (I swear I’m not sponsored).
The shade ‘Spotlight’ can be used for a cream highlight as well. Be sure to apply the highlight directly above the blush, highlighting the tops of the cheekbones and above the brow.
Buff the products in with a dense complexion brush.
Also recommended:
Step 7: Lips
If you are going for a more laid back look, always be sure to apply a lip balm with SPF to protect and keep your lips from being dehydrated. There are many balms available to give your lips a plump look.
Tinted lip balms can also add a sweetly bitten twist to the look. Colors like rose, baby pink and berry are all top choices for my no makeup look. Try to pick a color that aligns naturally with your lips.
Lip oils will shine through with this look as well if used sparingly. A clear gloss can do wonders! The ULTA Juice Infused Lip Oils have changed my life.
Step 8: Setting Spray
Go over the skin lightly with a setting powder. Laura Mercier Loose Powder is a go-to for a makeup lover.
The final touch to our “no makeup makeup” look is using a setting spray that will leave the skin looking glowy and fresh, plus make your makeup last all day and night.
The perfect product to achieve this is easily the Tatcha Luminous Dewy Setting Spray. This setting spray has taken my makeup to the next level and has become a staple for me.
If you aren’t a fan of a dewy finish, the Urban Decay All Nighter Spray leaves the skin matte and is also the most-transfer proof setting spray I have used.
Also recommended:
Voila!
If you want to be a little extra, don’t be afraid to draw on a few faux freckles to make the look appear even more natural. Freck has been a big leader in the faux freckle takeover.
Hopefully, these steps have taught you how to create a “no makeup” makeup look that will leave your skin looking flawless!
UP NEXT: 16 Best Vegan Makeup Brands for Cruelty-Free Products