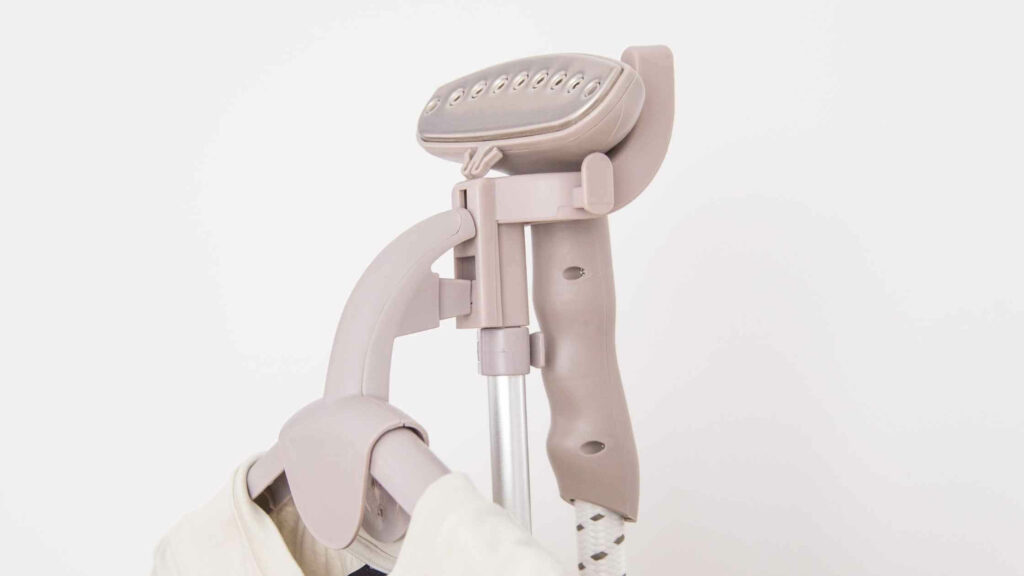
Picture this: your life-long crush finally asked you out on a dinner date! It’s the night of, and your hair and makeup look flawless. You know you’re going to be turning heads tonight. Now, the only thing you need to do is pick an outfit.
You’re standing in your closet looking for the perfect ensemble and….AHA! You decide to wear that sexy silk dress you bought online a few months back. You begin digging through your closet to find it when . . . Oh no.
The dress is wrinkle-city! You have to leave in 10 minutes and there’s no way you can use a regular iron. What are you supposed to do?
There’s only one correct answer in this hypothetical (yet totally realistic) scenario: grab the steamer! In case you ever find yourself in a similar situation, there’s no need to panic. Here is an easy-to-follow guide on how to use a steamer.
How to Use a Steamer: Step by Step
Step 1: Make Sure the Garment is Safe to Steam
Steamers can either knock out the wrinkles in your clothes or wreak havoc on the garment, depending on the fabric at hand. These fabrics should not be steamed (unless you want them to melt):
- Suede
- Velvet
- Waxed or plastic-based fabrics
Fabrics such as cotton, wool, polyester, and silk are OK to be steamed. If you’re unsure, do a test patch on the garment to make sure the process will go smoothly.
Step 2: Ready the Steamer
Preparing your steamer is actually a very important step. Before plugging it in, make sure the water reservoir is appropriately filled. Also, make sure the covering is shut tight; the last thing you want is to have the water spill onto your clothes!
Plug the steamer in, and let it sit for 3 to 5 minutes. That way, it can produce a steady, reliable stream of vapor before you begin using it.
Familiarize yourself with the steaming trigger/button. You want full control of where the steam ends up.
Step 3: Prepare the Garment
The best way to steam a garment is by hanging it upright. If you don’t have a hanging pole, then a doorknob or chair will suffice.
Step 4: Steam the Garment
Begin steaming your garment in downward strokes. Do not hold the steamer too close to the garment or directly press the steamer against the garment.
Keep about an inch or two of space in between the garment and steamer, and remember to press the steam button occasionally (or with each stroke) for an even steam job.
Step 5: Allow the Garment to Cool & Dry
Your garment may be damp after you finish. Allow it to hang dry and cool off for a few minutes before you wear it.
Final Steaming Tips
- Use handle covers to avoid burns
- For extra wrinkly garments, steam them from the inside. The weight will assist and make the steaming process quicker.
- Purchase extra nozzles and/or rollers for specific types of fabric
- For dense fabrics, place pads behind the garment
- Check water level and make sure it is just right – too low can damage your steamer, while too full might not heat up well enough to product steam
Conclusion
Don’t let wrinkles cramp your style. Using an iron isn’t always the way to go – learning how to use a steamer will be a life-saver in a time crunch. These easy steps will have you knocking out wrinkles like a pro in no time!
Hopefully, this guide prepares you for all your future fashion emergencies. Want more? Check out our recent articles about How to Wear a Cardigan and How to Clean White Converse!

