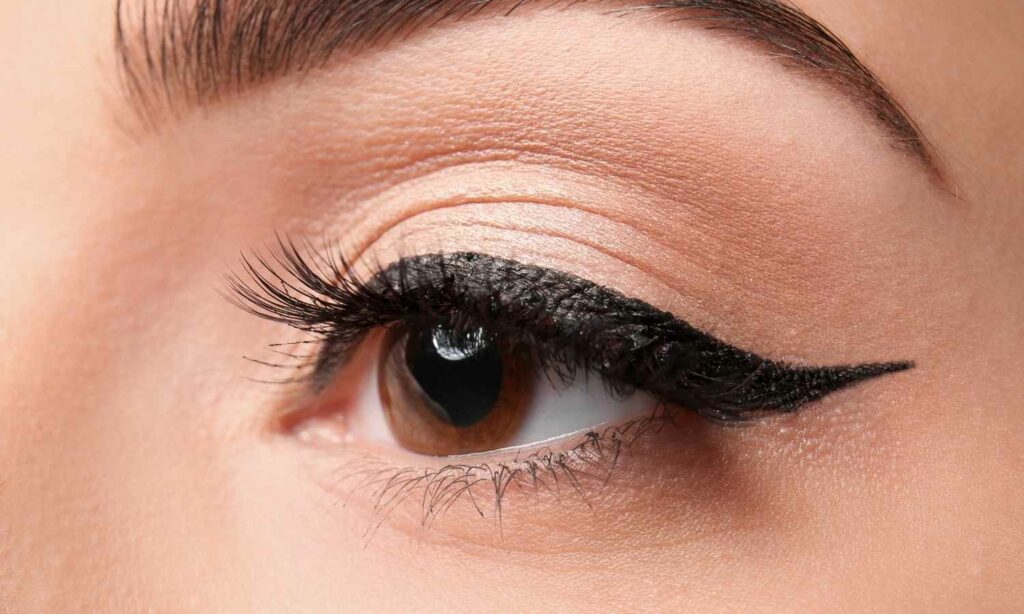
Achieving the perfect winged liner seems impossible some days. I know I’m not alone on completely scrapping a makeup look because I can’t get my eyes to match.
Everybody’s eye shape is different and unique, but nobody is limited to just doing one eyeliner look! Figuring out which look fits your eyes the best is all part of the process.
You can easily elevate any makeup look with different colored liners and different placements in various areas around the eyes.
Here are our best tips on applying winged eyeliner for your eye shape, plus some beauty secrets to keep you up to date.
How to Do Winged Eyeliner
Keep reading to learn tips and tricks for doing winged eyeliner (for each type of eye shape)!
For Hooded Eyes
You most likely have hooded eyes if you are unable to see your lid when your eyes are open!
To start off, it is usually best to use a pencil liner as the base. Later, you can draw over with a liquid liner to solidify the look. Doing this will help you avoid a smeared mess on your lids if you aren’t careful.
Start from the outer corner of the eye and draw a line angled upward. You can draw on your wing in more than one stroke because you are going to trace over it later. Keep your eyes looking forward and relaxed.
After this, move the liner horizontally to the crease, then extend the line downward back toward the lash line. Once you have arrived back at the lash line, draw the pencil along the top of the lash line and extend it to the inner corner of the eye. Once you are done carving out the shape, you can blend it with a eyeliner brush to keep the liner from looking rough.
Once done, layer the liner with a liquid liner that will strengthen and define the look. The shape you should end up with will be batwing shaped, making your wing way more visible and allowing for your hooded eyes to open up and become a cat eye look.
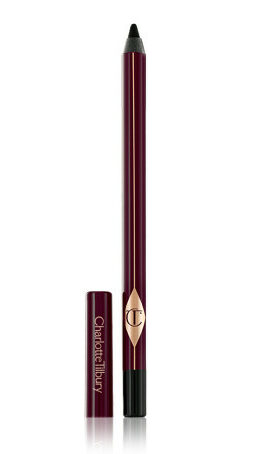
To create your perfect look, here are some of our product recommendations:
Pro Tip: Keep a Q-tip and some micellar water handy if you think you will need help cleaning up the edges.
For Almond Eyes
If you have almond-shaped eyes, you were blessed with the easiest eye shape to work with— the almond shape can take on many different looks.
For this one, start from the inner corner of your eye and work your way to the outer corner, eventually flicking the liner upward toward the tip of the crease. You can make the liner as long as you’d like, depending on how dramatic your look is going to be for the night.
When working with almond eyes, don’t be afraid to make the liner thick, but keep it close to the lash line.
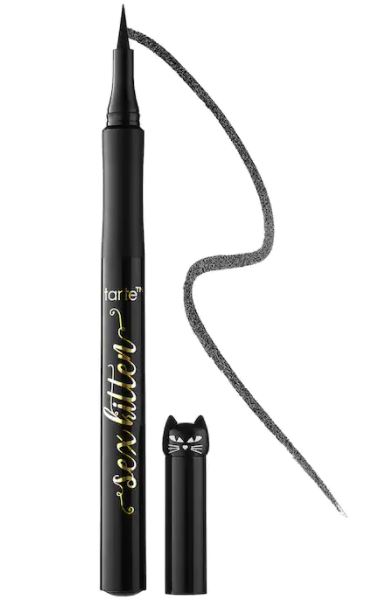
Product recommendation:
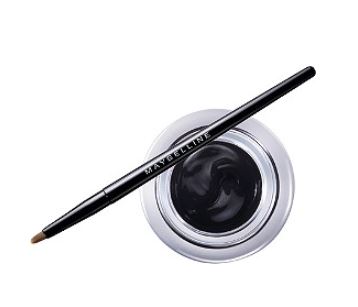
Makeup Hack: If you are a newbie at makeup, try the dot-and-trace method. Draw dots across the lid to create the shape of a wing and then connect the dots with your liner!
For Monolid Eyes
If you have very little crease or no crease at all, you most likely have a monolid eye shape. You can easily build up a winged liner look on the lid.
Begin from the inner corner and draw a line to the middle of the lid. Work your way precisely to the outer corner of the eyelid and gently flick the liner upwards towards the brow. Fill in the shape to create a wing.
Once you have done this, you can connect a line from the lower lash line into the wing on your top lash line. This will finish the look and allow you to fill in the shape.
Use a feathering motion when working with the liquid liner after placement. You want to avoid any overdrawn lines by building up the liner instead of going all in at once.
Pro Tip: You can use a piece of Scotch tape to help you with your wing shape. This will give you a more precise and crisp shape without worrying if both eyes match. Tape from the bottom lashline upward. If your skin is sensitive, you can use a piece of paper!
For Rounded Eyes
To accentuate your rounded eyes, start from the inner corner and extend to the outer, then slightly flick the liner upward at the end of the lash line. This style is plain and simple for rounded eyes—your shape will pop and define the beauty of your face!
To create a dramatic eye look, take it one step further by increasing the length of the liner. This will create a cat eye look rather than a natural wing.
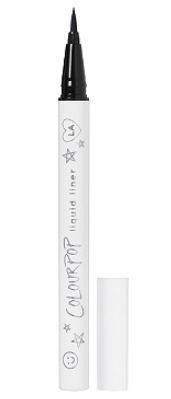
Don’t be afraid to try different colored liners or create a graphic liner look. Round eyes are perfect for showing off color!
Try this fun-colored eyeliner from ColourPop!
Upturned Eyes
If you have upturned eyes, the outer corner of your lids likely face upward slightly. Since you already have a bit of the feline-shape naturally, it won’t be hard to create a winged look.
Gel liner is perfect for creating an upturned wing look. Reach for an angled brush and draw thin strokes on the upper and bottom lash corners, gradually making it thicker on the outer corners.
Draw a thin line from the inner corner to the middle of the lid and connect it with the wing at the end. Fill in the blank spaces and create the full wing. You don’t need to do too much to achieve a dramatic wing since you’re already working with a naturally upturned shape.
You can extend the inner lash line to the tear duct if you want a very feline look. I recommend doing this if you feel you have wide set eyes. Add a pop of color on the inner corner of the eye (like a glittery eyeshadow) to complete the bold look!
Downturned Eyes
To lengthen your eyes and create a more lifted look, start from the middle of the eyelid and extend to the outer corner. Make sure to keep your eyes open so you don’t throw off the direction your hand is moving. Flick the line upward toward the end of your eyebrow, extended as far as you’d like.
With downturned eyes, connecting the liner from the middle to the inner corner might make your eyes turn downward even more. If you’d like to fill in the space, make a very thin line when connecting to your inner corner.
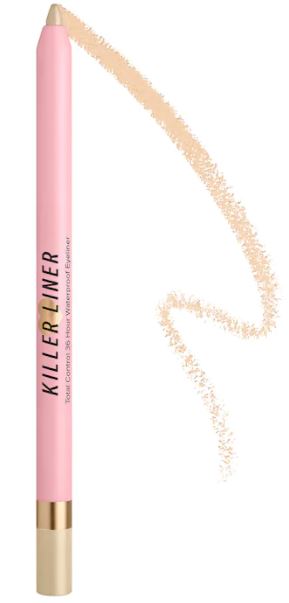
Also, leaving the lower lash line and waterline blank will avoid making your eyes look smaller and instead more awake. Try a nude liner in the waterline to achieve a bigger eye look!
Check out these eyeliners to perfect your look:
Final Tip: Use a black eyeshadow to trace the liner shape before you apply gel or liquid on top.
RELATED: 14 Best Liquid Eyeliners for Your Perfect Cat Eye
To Sum It Up
Perfecting the look of a winged liner can take time, but the more you practice the easier it will become. Plus, using the right method for your eye shape can make a huge difference.
Try out these techniques the next time you want to create a winged eyeliner, and you’ll be a pro in no time. If you find your hand a bit unsteady, you can always place your elbow on a sturdy surface when applying your liner!
If you want to see how to apply winged eyeliner in action, check out this short video for a visual:
